Here's how it's done:
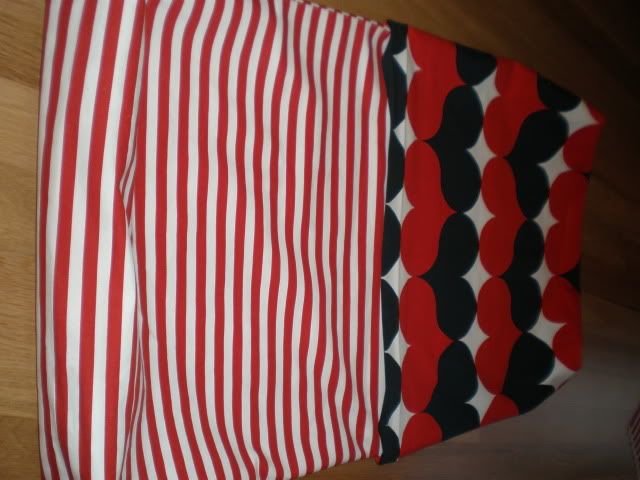
Step 1: Choose a good sturdy fabric. I chose a canvas print from Ikea. You will need about a 1/2 yard of fabric and 1/2 yard lining fabric. For the lining I chose a contrasting stripe pattern for an element of surprise when you open the bag! That way it's cute from the inside out. You will also need a 9ft. spool of a sturdy grosgrain ribbon.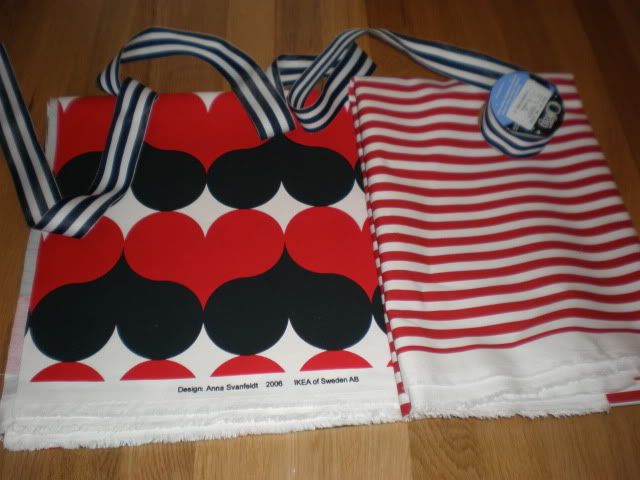 /div>
/div>

Step 1: Choose a good sturdy fabric. I chose a canvas print from Ikea. You will need about a 1/2 yard of fabric and 1/2 yard lining fabric. For the lining I chose a contrasting stripe pattern for an element of surprise when you open the bag! That way it's cute from the inside out. You will also need a 9ft. spool of a sturdy grosgrain ribbon.
/div>Step 2: Fold the fabric in half. Measure and mark a rectangle the size you would like your bag to be. Here are my dimensions:
20" wide (fold side)
17 3/4" high (this is the folded height. Unfolded it will be 35 1/2" high)
Step 3: Do the same for the lining except make it 1" shorter. The dimensions will be 20" X 16 3/4"
Step 4: Cut it out!
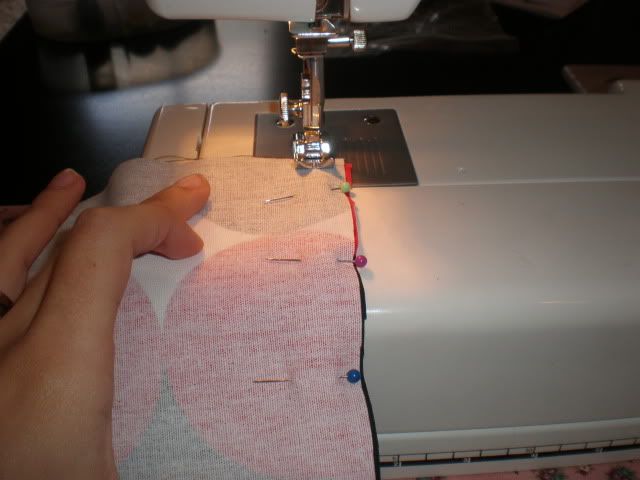
Step 5: Flip your fabric inside out so that "face" sides touch together. Pin fabric together along sides of rectangle. The top side of the rectangle should be left open.
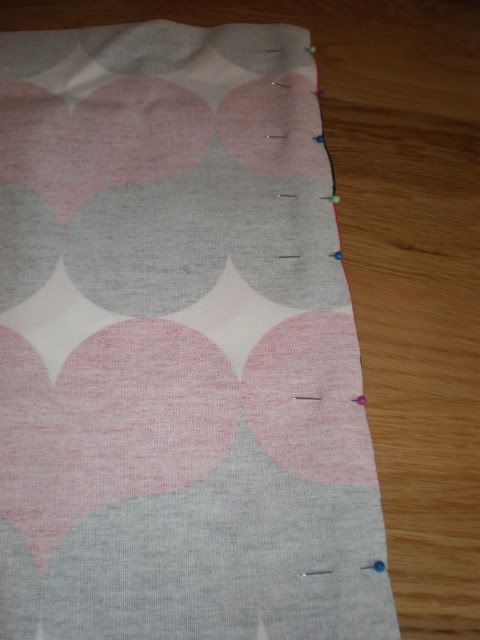
Step 6: Sew 2 sides of rectangle together. I like to use a 1/2" margin.
Step 7: Starting from the fold side of rectangle, measure up the 2 sides along the seam you just sewed, and make a mark 1 1/2" up.

Step 8: The easiest way to do the next part is to slip your hand into the bag between the 2 layers. Go down to the corner and spread your sides apart with your fingers. Touch your "mark" to the fold side of rectangle. You will form a mini triangle.
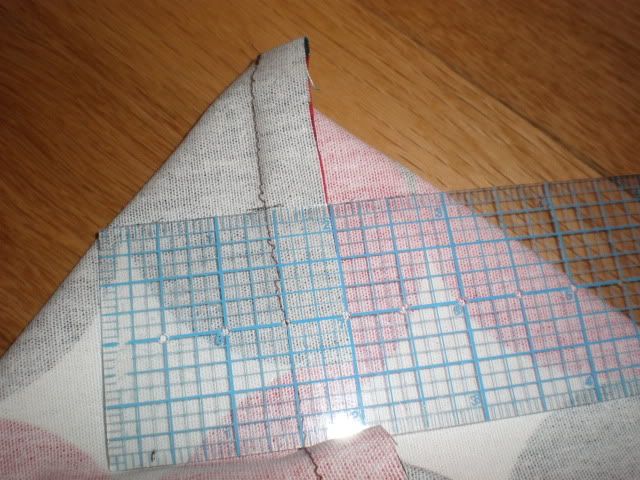
Make sure the base of the triangle measures 3" and that your seam is exactly in the middle. Mark a line along the base of the triangle.
Step 9: Sew along the your line. Do the same for the other corner.
Step 10. Follow steps 4-9 for the lining also.
Step 11: Press open all your seams. Finish edges with serger or zig zag stitch.
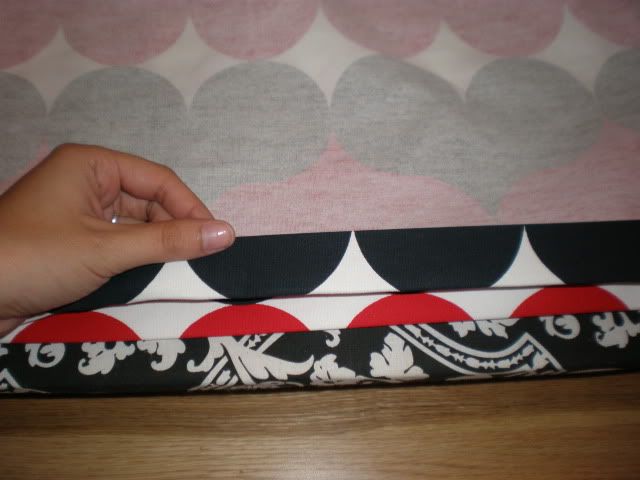
Step 12: Turn your bag "right" side out. Leave your lining inside out. Place your bag inside the lining.
Step 13: Pin and sew lining to bag along top edge of rectangle (where opening of your bag will be), but don't sew around entire top--leave a little opening!
See that little opening? Pull the whole bag through the hole so your bag is right side out.
It will look like this when it is all pulled out. Now, stuff the lining in the bag.
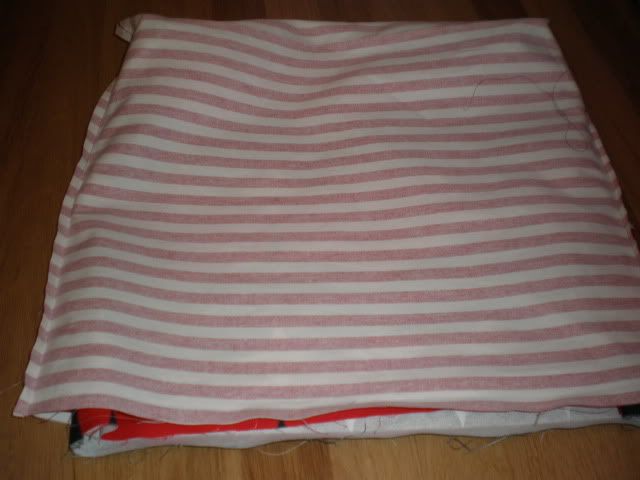
Step 14: Remember how we made the lining 1" shorter? Fold down outside bag (the heart fabric) 1" and press. This just makes it look neater. Pull your bottom corners apart (where you made the little triangles) and press a crisp line on both sides.
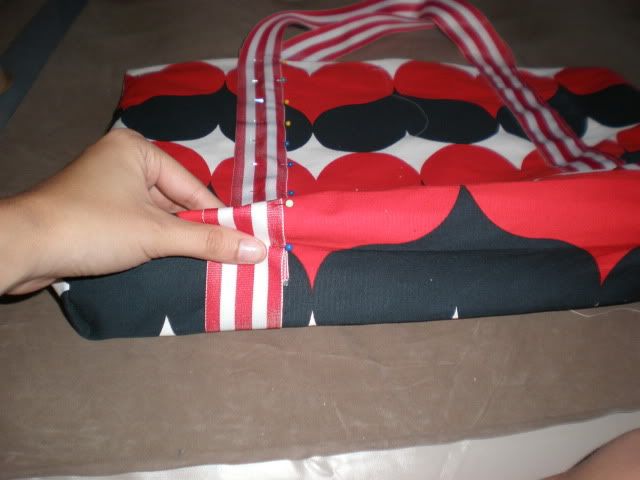
Step 15: Pin on ribbon and sew~!
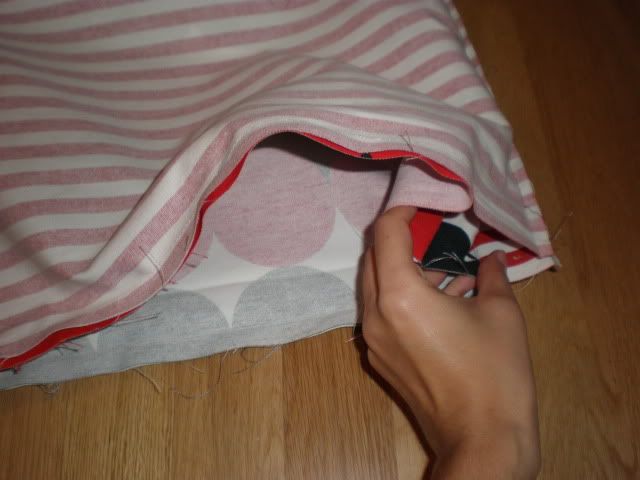
Step 16: Remember that little hole you pulled the whole bag through? You can now finish that by hand by making little pick stitches from fold of lining to bag.
Tada!

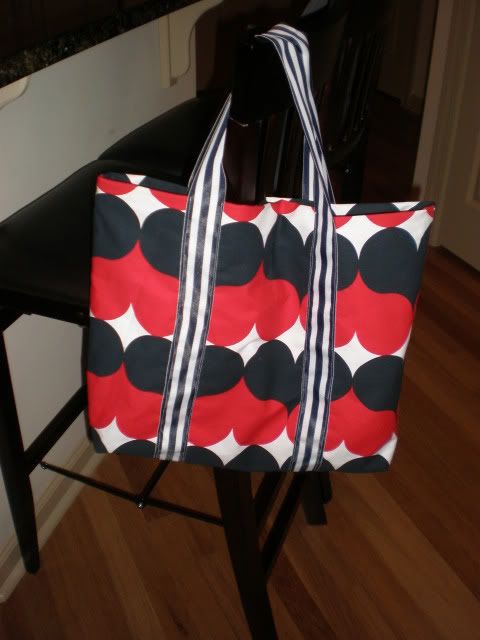
Well, that's it! I think they will "tote"ally like them.
Ok, its getting late, and I'm getting way too cheesy.

No comments:
Post a Comment
Let's chat!!